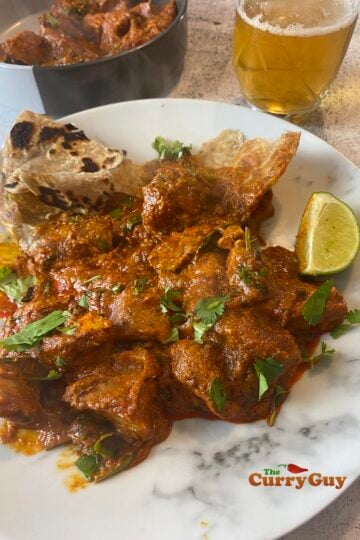
You might know that I have been experimenting with the Doori tandoor oven over the past year. Until recently, cooking breads in the Doori wasn’t possible but using their new naan paan, these tandoori roti with chilli and garlic came out perfect! If you don’t have a tandoor oven, no worries. You can still use this recipe to make delicious flatbreads at home. All is explained below.

What is Tandoori Roti?
This recipe for tandoori roti with chillies and garlic is the tandoor oven way of cooking chapatis. Instead of cooking the flatbreads on a tawa or pan, they are cooked in a tandoor oven.
Just like chapatis, tandoor roti can be plain or you could add other ingredients to flavour them. For this recipe, I added garlic and chillies.
The magic of tandoori roti lies in how it cooks: the intense heat of the tandoor (often over 450°C / 850°F) gives it a smoky flavour, crisp edges, and soft chew. You’ll also often find that it chars and blisters from the heat in places.
Make this tandoori roti with chilli and garlic recipe and serve them with your favourite curries, use them as wraps or eat them on their own topped with butter. You are going to love them!
Ingredients
You don't need a lot of ingredients to tandoori roti with chilli and garlic. In fact, the ingredients you need are the same as chapatis. It’s a good idea to get all your ingredients together and measured out before you start the recipe. It’s easier that way.

See recipe card for quantities.
- Chapati flour
- Warm water
- Salt
- Garlic
- Thai Green Chillies
- Rapeseed (canola) oil
- Ghee (optional)
See recipe card for quantities.
Instructions
Below, you’ll see step-by-step photographs to guide you through the recipe. Additional ingredients can be kneaded into the plain dough at any time. At the bottom of the page, you’ll also find the full recipe card, which includes the complete list of ingredients and written instructions in an easy, printable format.

- Step 1: Sift the flour and salt into a mixing bowl.

- Step 2: Slowly begin to add water. I only use about 180ml (3/4 cup) but flours do vary. In should look quite crumbly at first. You can add your chillies and garlic now or later to the finished dough.

- Step 3: Knead it all into a soft dough ball for about 3 minutes. Wet your hands with the oil and continue kneading for a further 2 minutes.

- Step 4: Cover and allow to rest for about 30 minutes or longer.

- Step 5: Roll the dough into a rope and divide into about 8 pieces of equal size.

- Step 6: Then form the pieces into smaller balls.
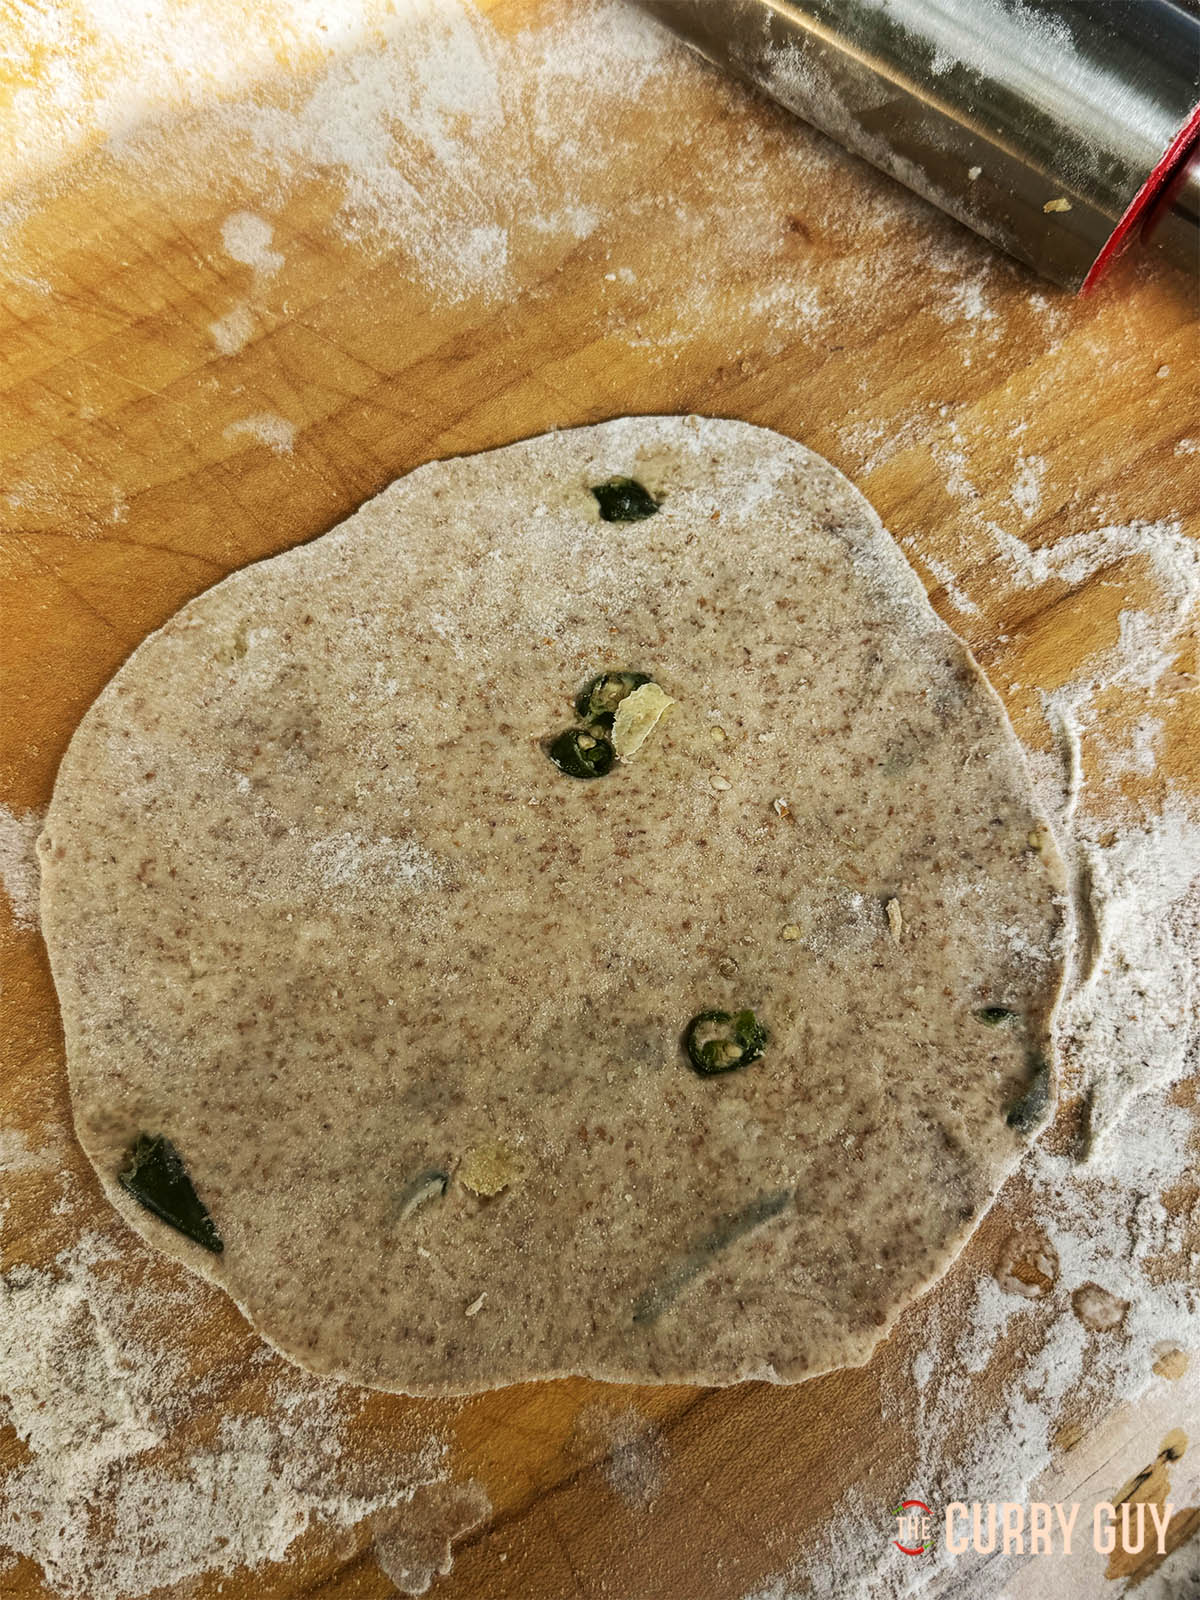
- Step 7: Dust with flour and roll into circles, about 6–7 inches across. They should be slightly thicker than chapatis but not as thick as naan.

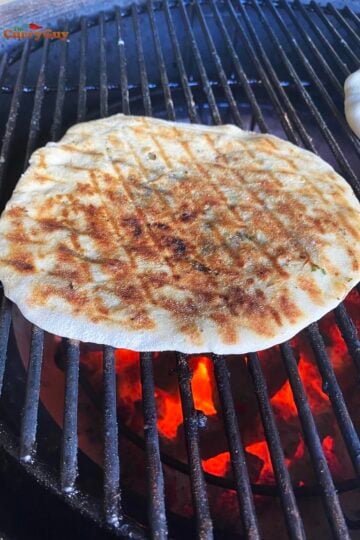
- Step 8: Wet the underside of your roti. Slap it onto the wall of your tandoor oven or on to the naan pan of your Doori.

- Step 9: Cook for about 2 minutes. This roti will brown in places and become crispy in places too.

- Step 10: Transfer the cooked rotis to a clean surface and brush with ghee if you like. Keep warm while you cook the remaining rotis.
Variations
There are many ways to personalise your tandoori roti to taste and lifestyle. The recipe for tandoori roti with chilli and garlic is just one of them.
- Chapatis: Chapatis are really just tandoori rotis that are cooked on a tawa or pan instead of in a tandoor. Chapatis are tolled a bit thinner than tandoori rotis, like tortillas.
- Flavoured: If it sounds good, add it to the dough. I recommend making plain tandoori roti dough and divide into individual balls. You can then add different ingredients such as spices, herbs and greens to your tandoori roti.
Useful Equipment for Making Tandoori Roti
You might not own a clay tandoor, but that doesn’t mean you can’t make tandoori roti at home. Here are the tools you can use:
Traditional Clay Tandoor :
I have made countless tandoor roti in my clay tandoor ovens. If you have one, give this recipe a try.
Doori Tandoor :
These are modern, portable, metal tandoors designed for home use. I have been using one for the past year and love my Doori! As it's portable, I even took mine camping and to Spain on holiday. Doori recently brought out a naan pan so that you can cook tandoor roti and other flat breads in the Doori.
Cast Iron Skillet or Tava:
The most accessible option. A heavy cast-iron skillet gets blisteringly hot and mimics the effect of a tandoor. Use this method and you wont have a tandoori roti but rather a chapati but the cooking method works well. Here's my chapati recipe.
Oven with Pizza Stone or Baking Steel:
Preheat your oven (and stone/steel) to its highest setting and place your pizza stone or baking steel in it to heat for at least 30 minutes. Place your rotis on top to cook. TYou won't get the same smoky flavour as cooking with charcoal but you will still get good results.
Can you work ahead?
Yes! The dough can be prepared 1 to 2 days ahead of rolling and cooking the rotis. I often prepare the dough and freeze it either in one large dough ball or divide it into smaller dough balls.
Then you just need to let the dough defrost and warm to room temperature to start cooking. You can take the frozen dough out of the freezer in the morning and return home in the evening to start cooking.
Storage and Reheating Tandoori Roti
Like most flatbreads, this tandoori roti with chillies and garlic is best fresh. But you can store and reheat it if needed:
Refrigeration: Wrap in foil or place in an airtight container for up to 2 days.
Freezing: Stack rotis with parchment between each and freeze in a zip-top bag for up to 2 months.
Reheating: Warm on a hot skillet for 30–60 seconds or reheat in the oven wrapped in foil. Avoid microwaving as it can make them rubbery. I often warm tortillas and chapatis in a microwave but tandoori rotis are best reheated in other way.
Pro Tips
- High Heat is Key:
Whether you’re using a tandoor, skillet, or oven, the surface must be very hot before you cook the roti. - Slightly Thick Dough:
Don’t roll the rotis too thin; they should be a bit thicker than chapati to withstand the heat and puff nicely. - Rest the Dough:
Resting the dough helps relax the gluten, making the rotis softer and easier to roll. - Don’t Over-flour While Rolling:
Too much dusting flour burns easily on high heat and can make the rotis dry. - Use Whole Wheat Flour:
Authentic tandoori roti is made with atta, which gives it its nutty flavour. Don’t substitute with all-purpose flour. Flour labelled chapati flour is perfect.
Top Tip
Serve Immediately: Like naan, tandoori roti with chilli and garlic loses its appeal as it cools. Have your curries or wrap fillings ready so you can serve your rotis piping hot.
FAQ
That is something you Naan is made with white flour and often includes yeast or yoghurt, making it softer and richer. Tandoori roti is made with whole wheat flour and has a more rustic, earthy taste.
The main difference is how they are cooked. Chapatis are usually cooked on a tawa or pan. Tandoori roti are cooked in a very hot tandoor oven. Because of this, tandoori roti are usually slightly thicker that chapatis so that they don't burn during the cooking process. The ingredients you use to make both are the same.
Yes! This tandoori roti with chillies and garlic is just one of many options. In fact, you could add ground spices like turmeric or chilli powder to this recipe. You will need to experiment some to get the flavour you are looking for which is why I recommend making plain tandoori balls and adding different spices and herbs to them. Experimenting is both delicious and fun.
Yes. These tandoori roti with garlic and chillies are very healthy and fibre rich. This is very tasty health food.
Related
Looking for other recipes like this? Try these:


Pairing
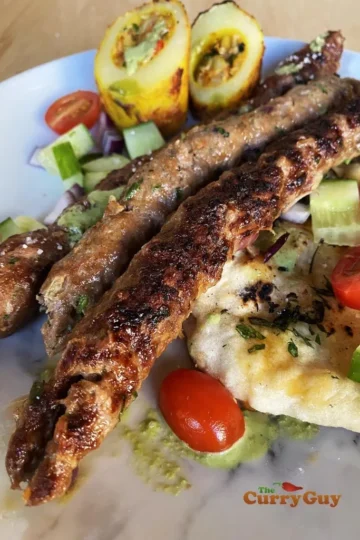
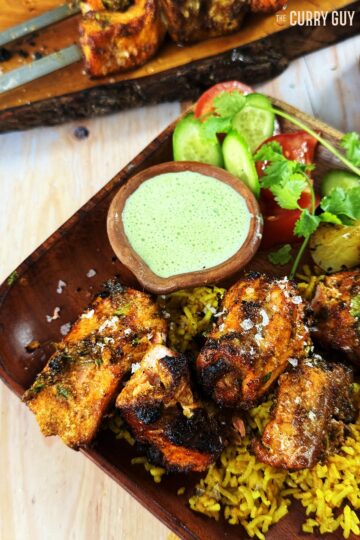
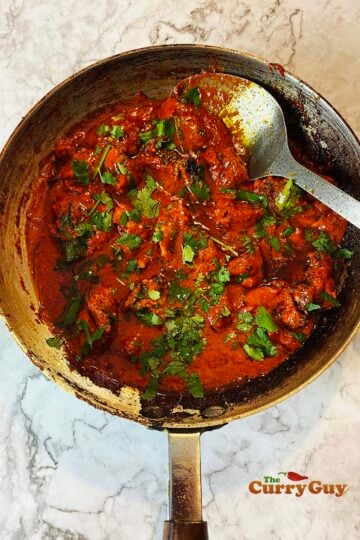
Tandoori rotis are great served with curries or tandoori kebabs. Try one or all of these!


Final Thoughts
Tandoori roti is proof that sometimes the simplest things are the most satisfying. With just flour, water, and heat, you get a bread that’s nutty, smoky, and perfect for mopping up curries.
While cooking in a tandoor is authentic and my preferred method of cooking tandoori roti, you could use this recipe and cook the roti in a pan or on a tawa like a chapati.
Once you try making your own tandoori roti, I think you'll want to do it often.
Have you tried this tandoori roti recipe?
If yes, please give it a star rating in the recipe card below and leave a comment. I love receiving your feedback and I’m sure other readers of my blog do too. Thank you.
If you are not already doing so, please follow The Curry Guy on Instagram and Facebook for all our latest recipes.
Tandoori Roti with Chilli and Garlic
Flavoured tandoori roti like this tandoori roti with chilli and garlic bring more excitement to the table. You can add as much garlic and chillies as you like. Use my recipe as a guide but feel free to add more or less garlic and chillies.
Ingredients
- 500g (2 cups) chapati flour
- 190ml - 250ml (3/4 to 1 cup) warm water
- 1 tsp salt
- 1 tsp rapeseed (canola) oil
- 3 - 5 green finger chillies thinly sliced
- 4 garlic cloves, smashed and finely chopped
- Ghee (optional)
Instructions
- Sift the flour and salt into a bowl and then add the water a little at a time. Stir with a wooden spoon or your hands until you have a soft dough.
- Knead the dough for about three minutes and then wet your hands with the oil and continue kneading for another 2 minutes.
- Go ahead and knead the dough for as long as you like. It can't hurt and will improve. Form into a dough ball and set aside covered to rest for about 30 minutes. If you like, you can add the chopped chillies and smashed garlic to this dough or add it later.
- Dust the work surface with a little flour and divide your dough into about eight to ten smaller balls.
- Flatten each ball between your hands and then flatten them more with a rolling pin until they are about six inches in diameter and 3mm thick. Try to keep the roti as round as possible by rolling from different angles. Dust off any excess flour.
- This, by the way is also a good time to add chillies and garlic to taste to each dough ball. It gives you a bit more control over how much chilli and garlic is in each roti.
- If you have a tandoor oven, you'll know what to do. If you have a Doori, just heat the naan paddle in the Doori until flaming hot.. When hot, wet the bottom side of one of the rotis and slap it on the naan pan.
- Cook until bubbles begin to form. Keep an eye on it all. You will know them you tandoori roti is ready as you will easily be able to scrape it off the naan pan. You can let the roti char to your preference before doing so.
Recommended Products
As an Amazon Associate and member of other affiliate programs, I earn from qualifying purchases.


Nutrition Information:
Yield:
8Serving Size:
1Amount Per Serving: Calories: 84Total Fat: 2gSaturated Fat: 1gTrans Fat: 0gUnsaturated Fat: 1gCholesterol: 4mgSodium: 294mgCarbohydrates: 15gFiber: 1gSugar: 1gProtein: 2g
If you are interested in picking up a new Doori, use the promo code THECURRYGUY when checking out and you will receive a 10% DISCOUNT and a free tandoor cover. NOTE: The Free Weather Cover will not appear on your order but you will receive it when you use the promo code THECURRYGUY.


Leave a Reply